
Õpilk gives you a ready-to-print A4 PDF. From there, the process is simple: print it, laminate if you want, cut out the cards and play. We tested the whole process ourselves to see which method gives the neatest result and where you can save time
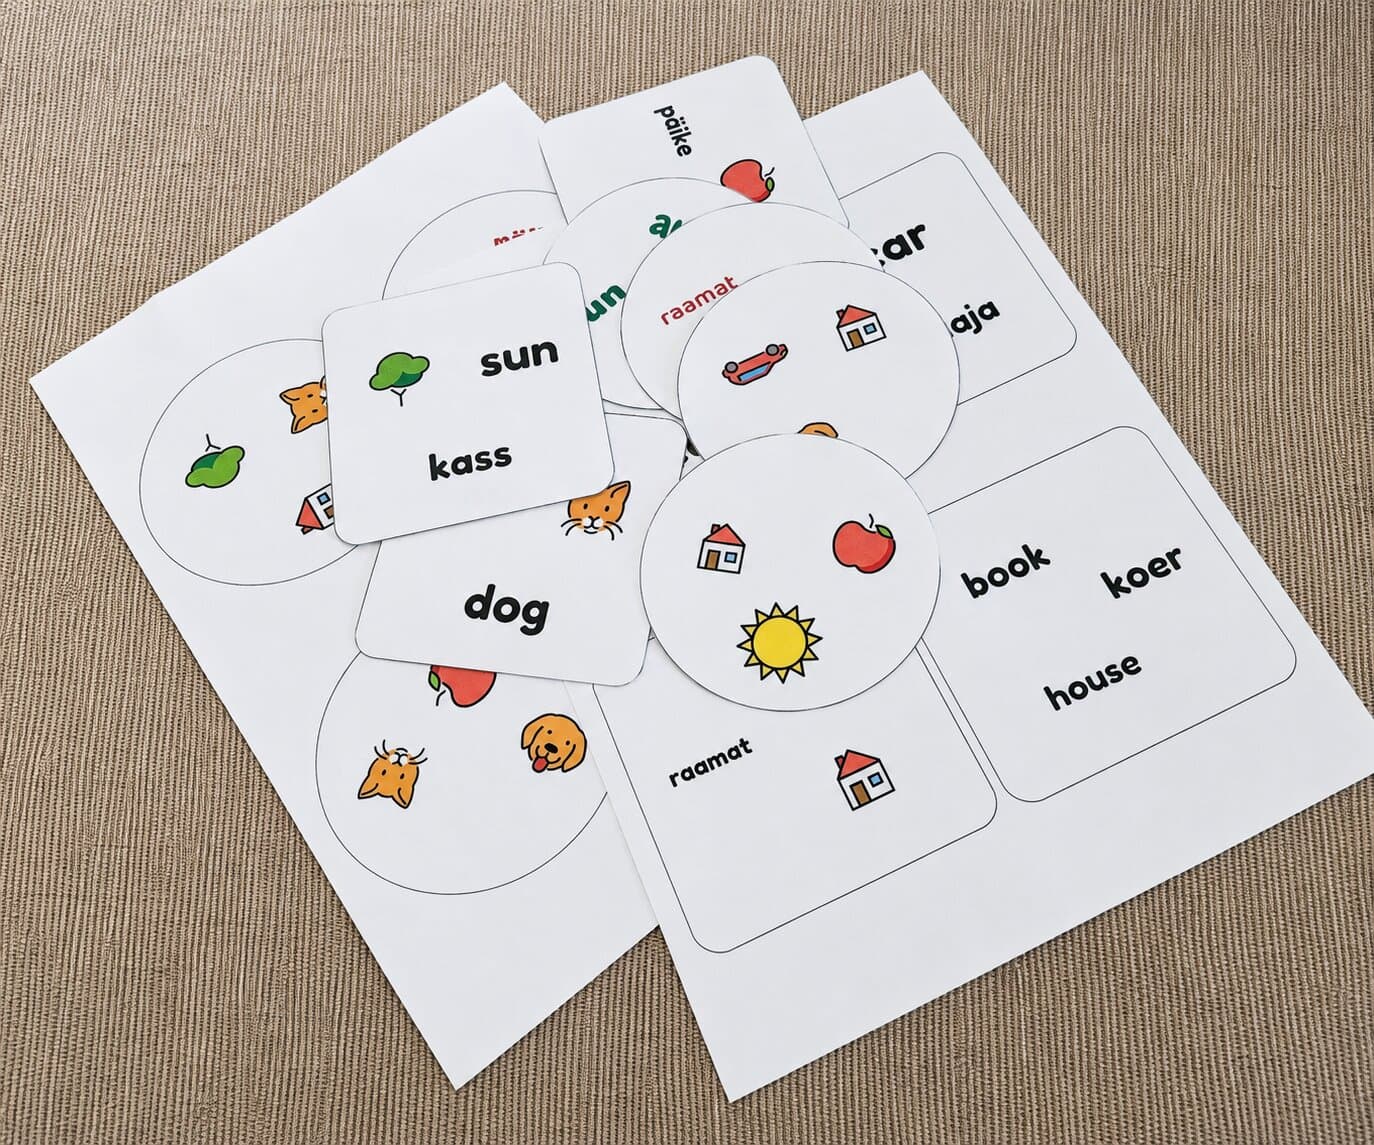
Create your card set and download the PDF
Build your set in Õpilk, check the preview before buying and make your purchase. After payment, you can download the print-ready A4 PDF
The PDF starts with overview pages showing the complete concept set and the options used. The printable card pages follow afterwards. You do not need to cut up the overview pages — instead, keep them with the finished cards so you can easily check later which concepts belong in the deck
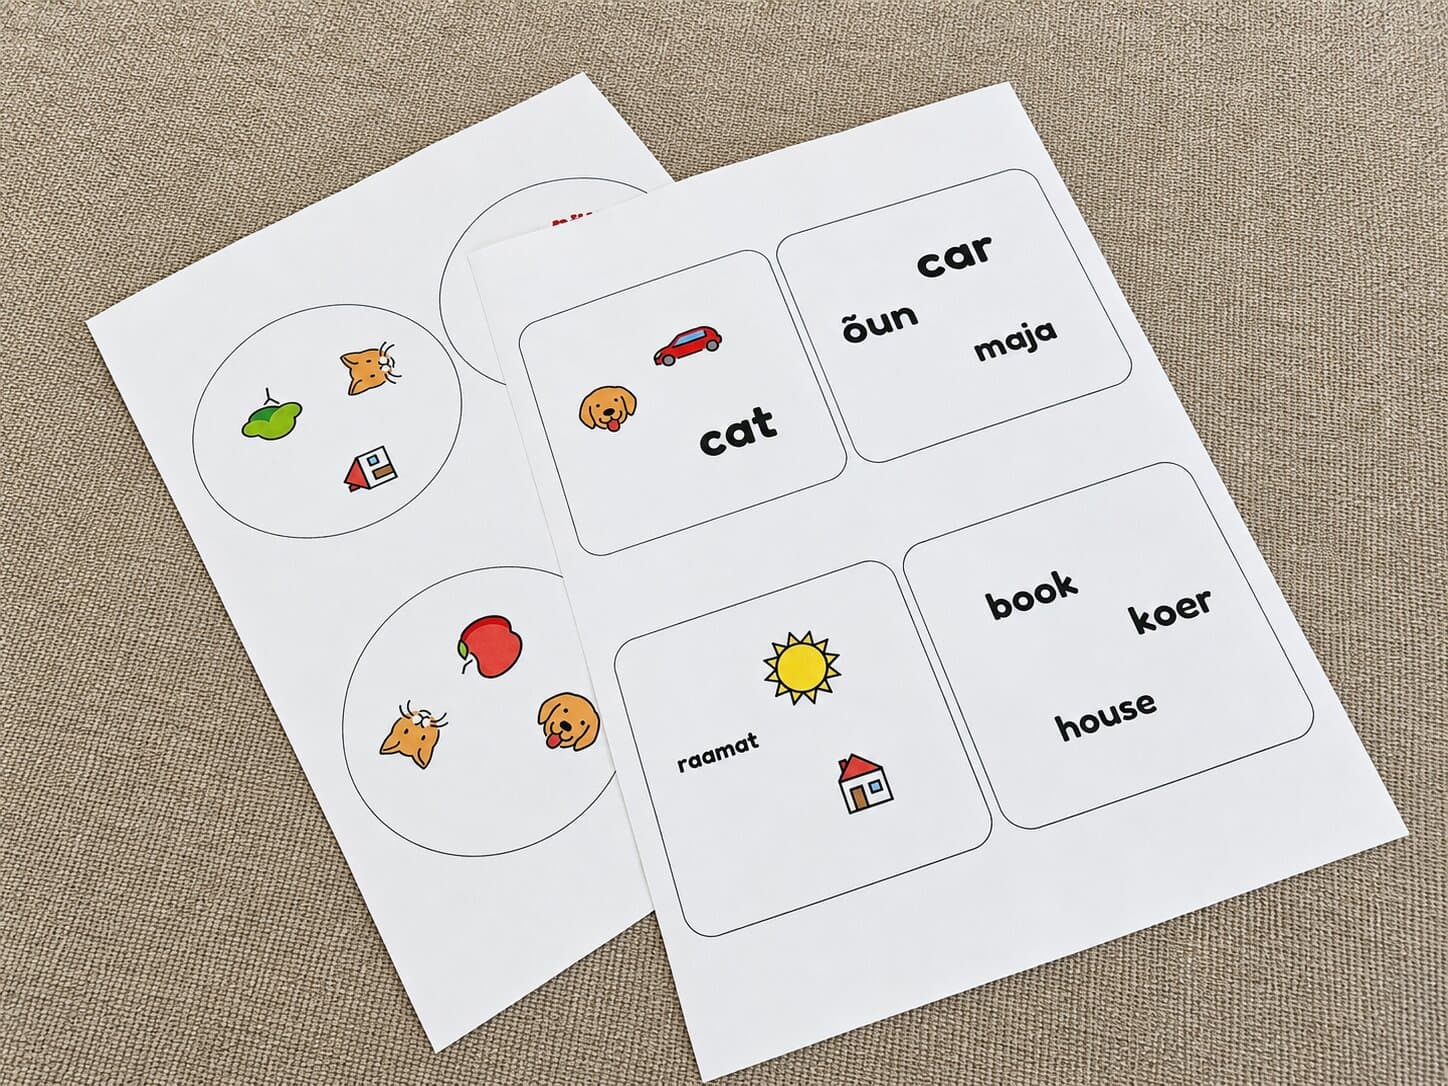
Print in colour and at the correct scale
Ordinary A4 office paper works. That is what we used for our test deck. Heavier paper can make the cards feel stiffer, but it is not necessary if you laminate them — the laminating pouch already adds stiffness
The most important thing is the correct scale. If you selected 80 mm cards, they should remain 80 mm on paper
- Use a colour printer where possible
- Ordinary A4 office paper worked well in our test
- Heavier paper is optional and must be compatible with your printer and laminator
- Print one test page first if you want to check the size and colours before printing the whole deck
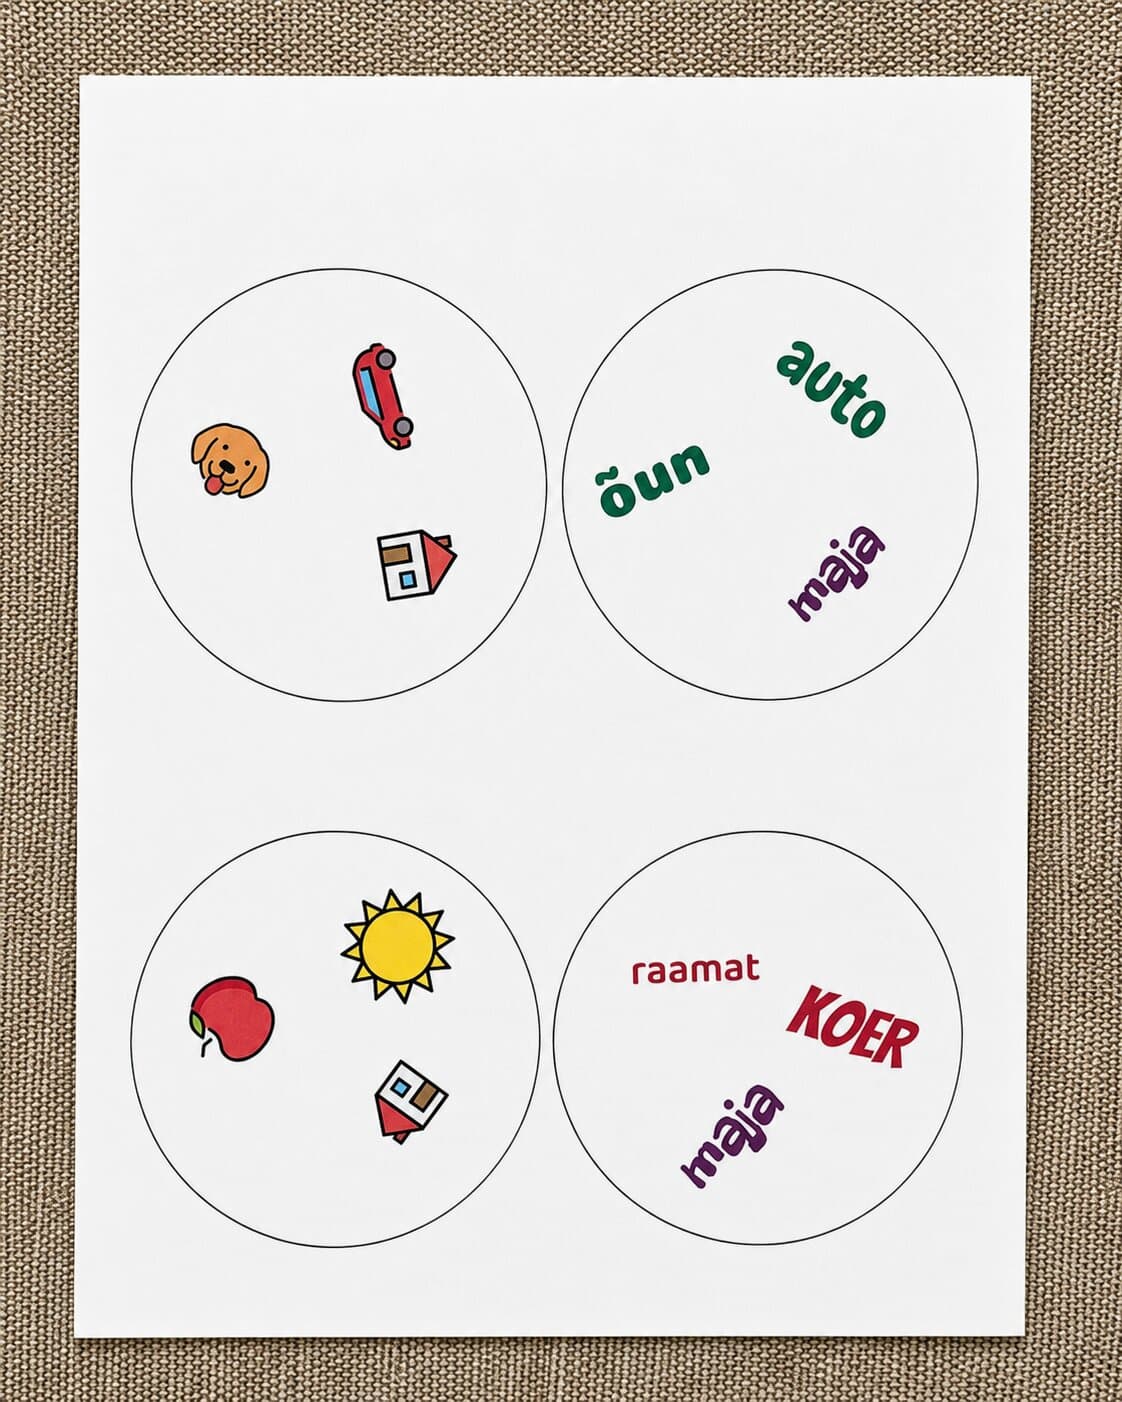
Lamination is optional — and there are two different approaches
Lamination is not required. It makes the cards stiffer, more resistant to dirt and more durable. If you only need a quick set for short-term use, you can simply print and cut the cards
Recommended for most users
Laminate the whole A4 sheet and cut once
The simpler and neater workflow. Put the complete A4 sheet inside the laminating pouch, laminate it, let it cool and cut the cards out afterwards
+
- Only one cutting pass
- Cards stay exactly in place while laminating
- Straight-edged shapes can be processed quickly with a guillotine or paper cutter
- This gave us the most consistent result in our tests
−
- Cutting the cards out also cuts through the pouch edge, so the paper edge remains exposed
- The cards are suitable for everyday use and small splashes, but they are not waterproof
Cut first, laminate separately, then cut again
If you want a sealed plastic edge, cut the paper cards out first, place them inside the pouch with space between them, laminate and then cut again while leaving a transparent plastic border around each card
+
- The plastic can fuse to itself around the whole card
- The edge is better protected from moisture and getting wet
- Many laminator manufacturers also recommend this approach — especially if you want a more water-resistant card
−
- Every card has to be cut twice
- Creating a neat, even transparent border is slower and requires more precision
- Individually placed cards tended to curl slightly during lamination in our test
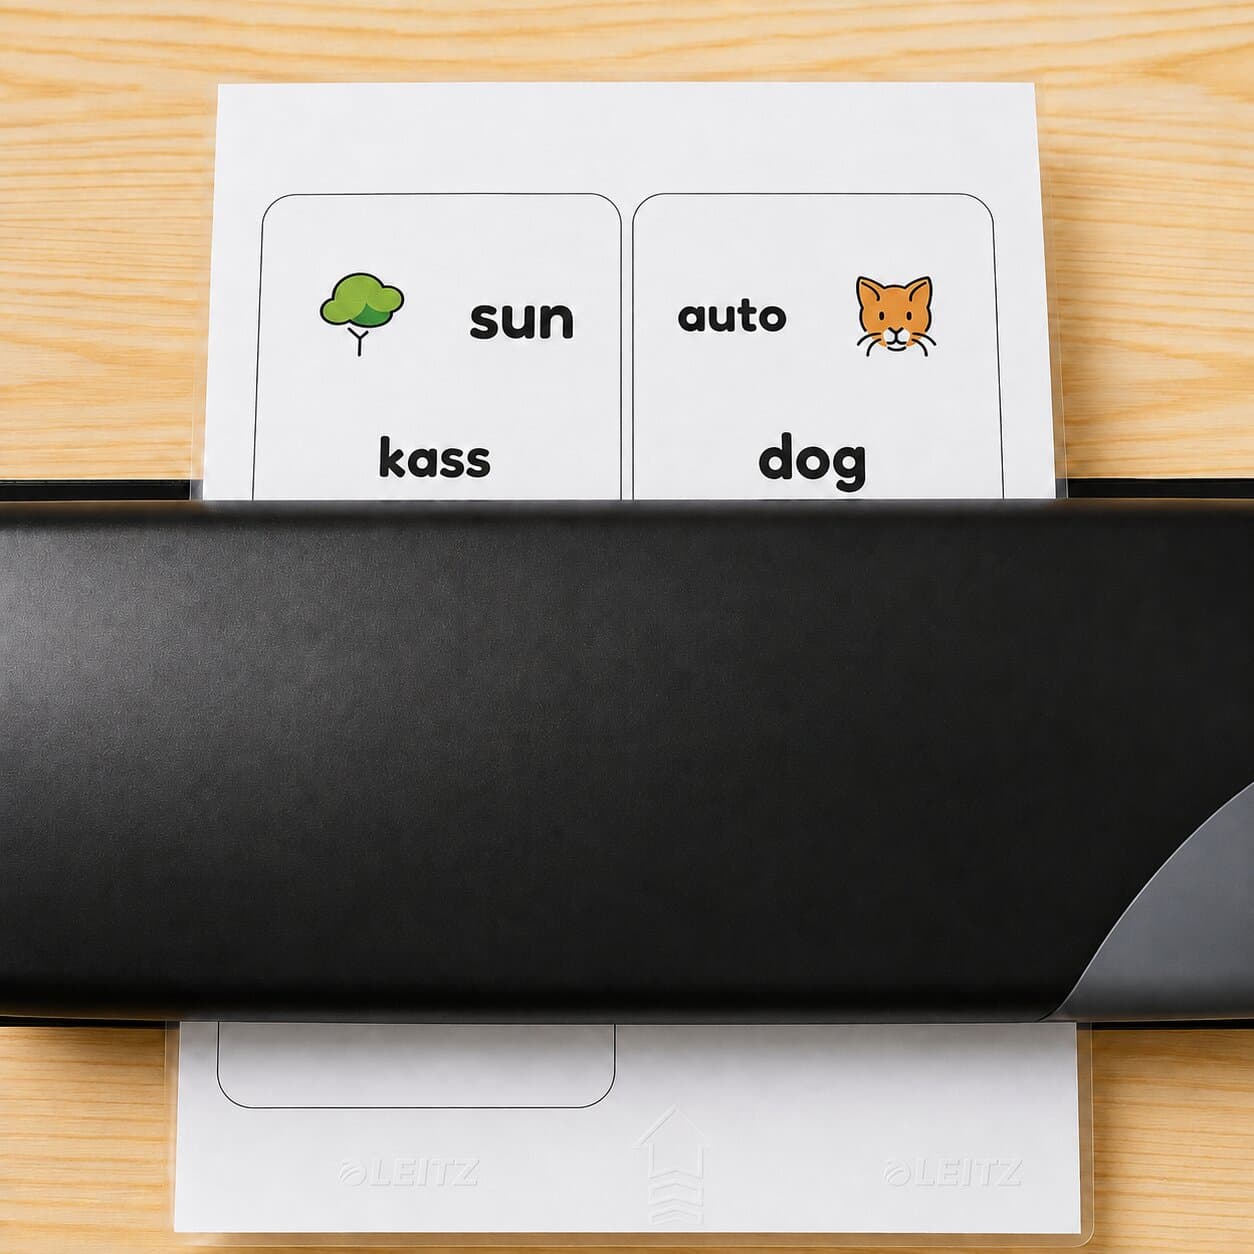
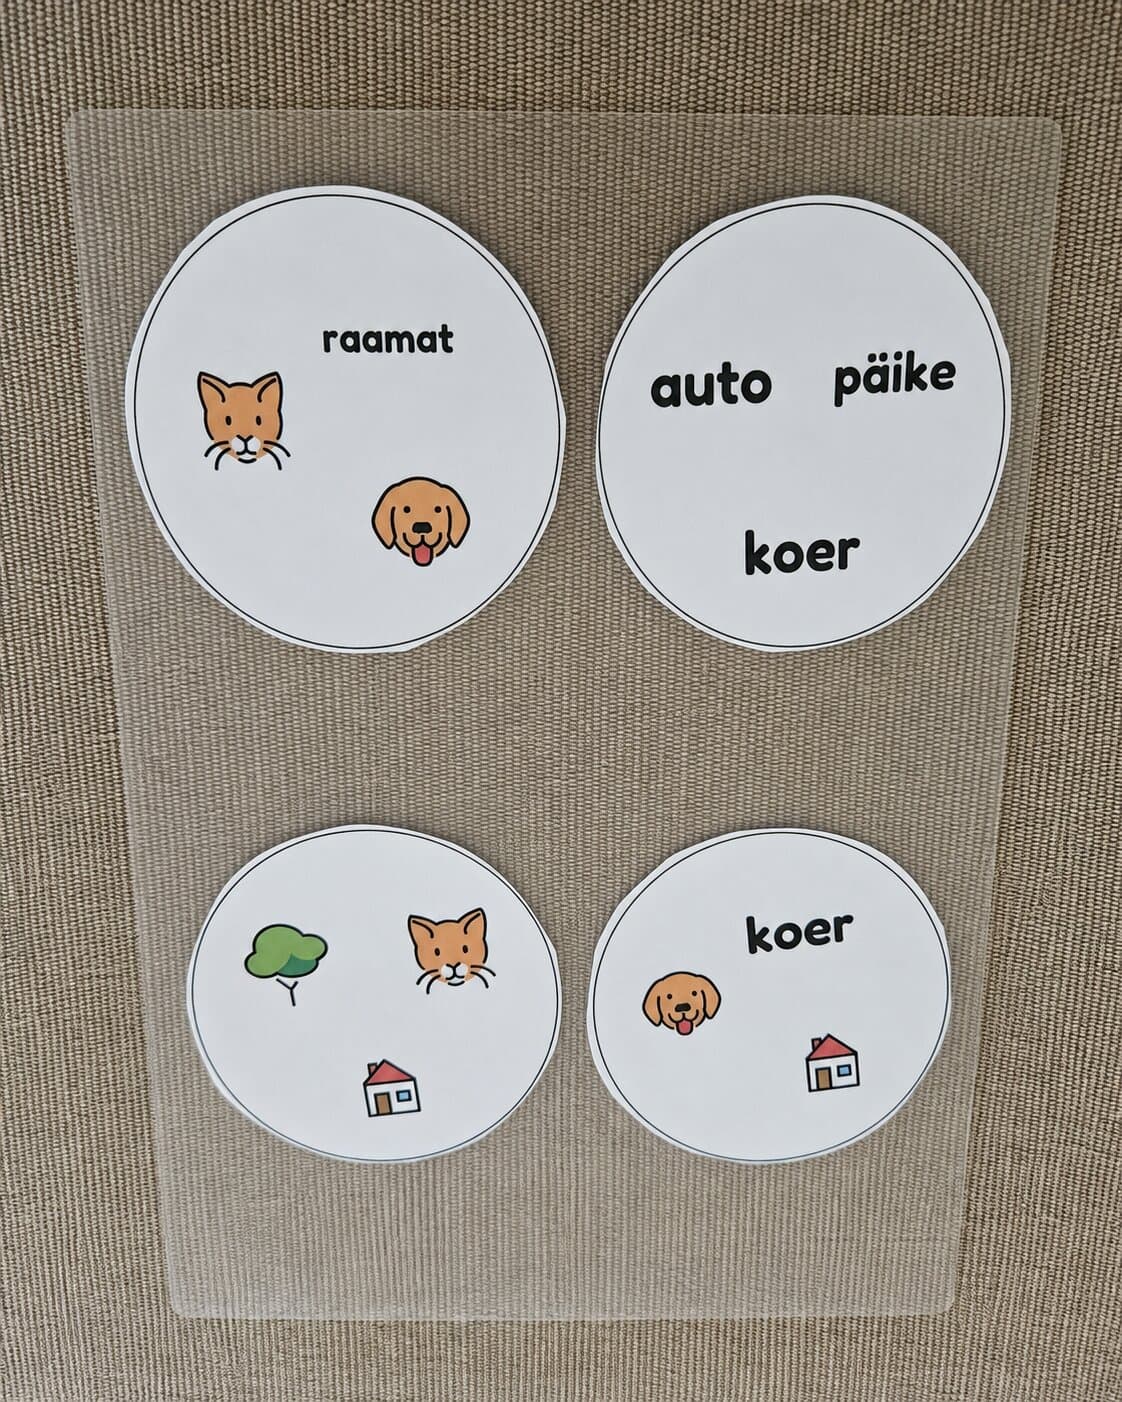
Cut the cards with a suitable tool
The best tool depends mainly on the card shape. Scissors always work, but the right cutter can save a lot of time when you are making a larger deck
We used ordinary scissors for our trial. Carefully cutting one circular card took about a minute
Circular cards
Scissors work well for a small number of cards. For larger quantities, a circle cutter or suitably sized punch can make the job much faster
Rounded-square cards
A much easier shape for fast cutting. Cut the straight edges with a guillotine or paper cutter, then round the corners with a corner rounder
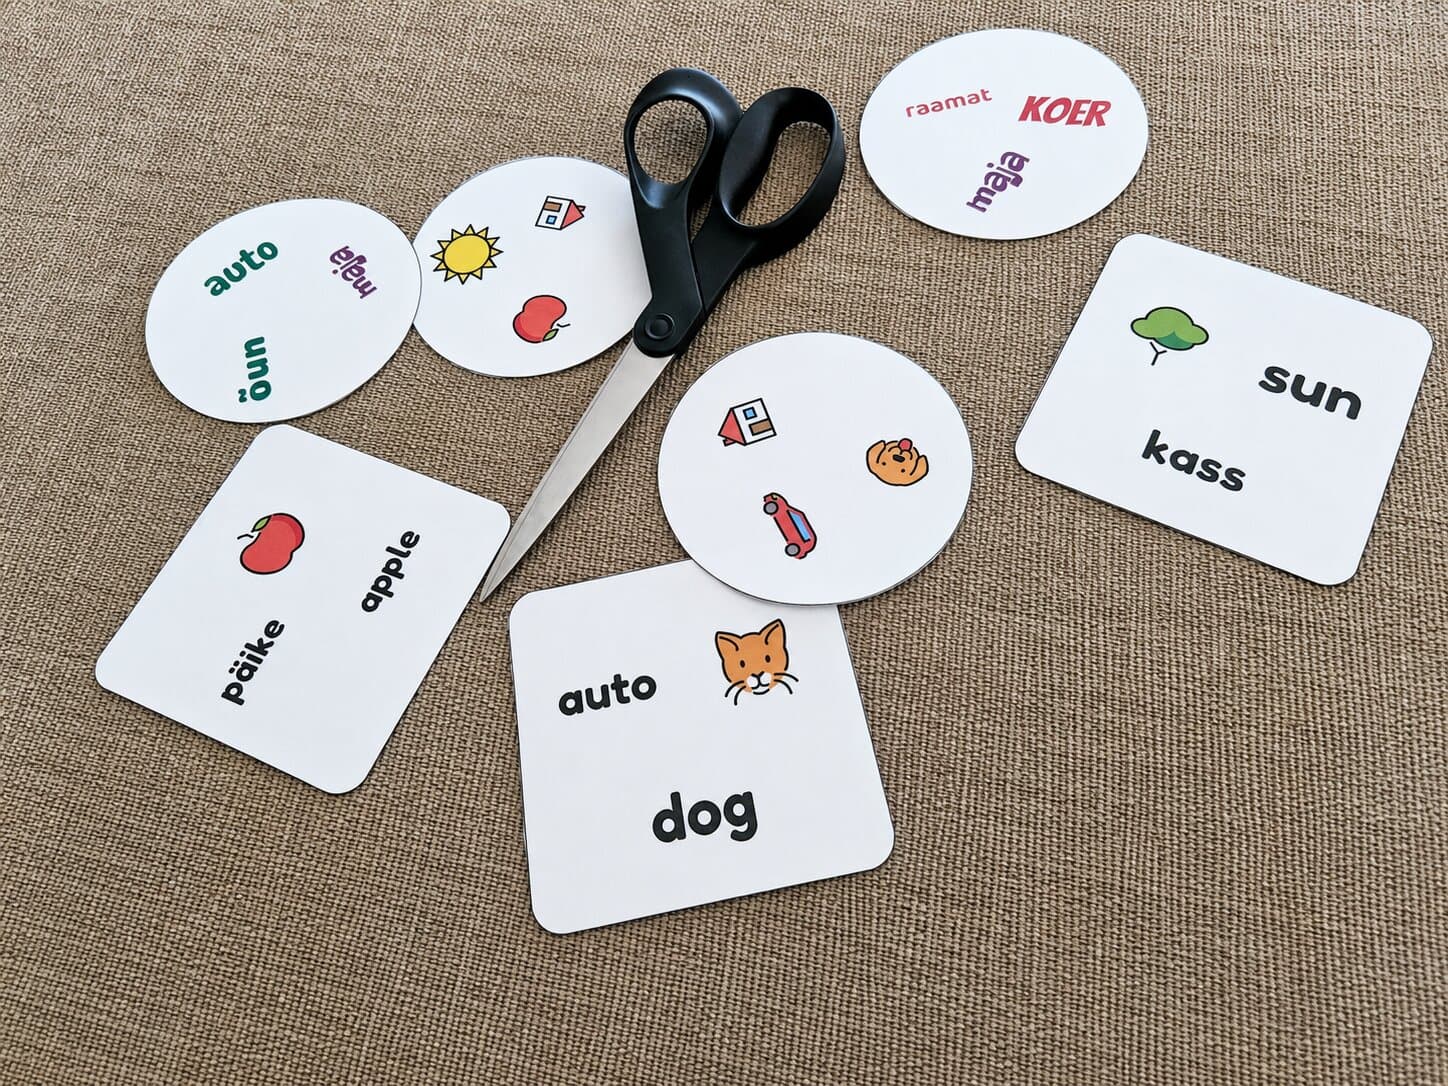
Keep the overview pages with the deck
Do not throw away the overview pages at the beginning of the PDF. They show all the concepts in the set and make it easy to check later what belongs in that deck
Keep everything together as one set: the cards and overview pages fit well in an envelope, zip pouch, small box or another storage solution that works for you
Done — now play
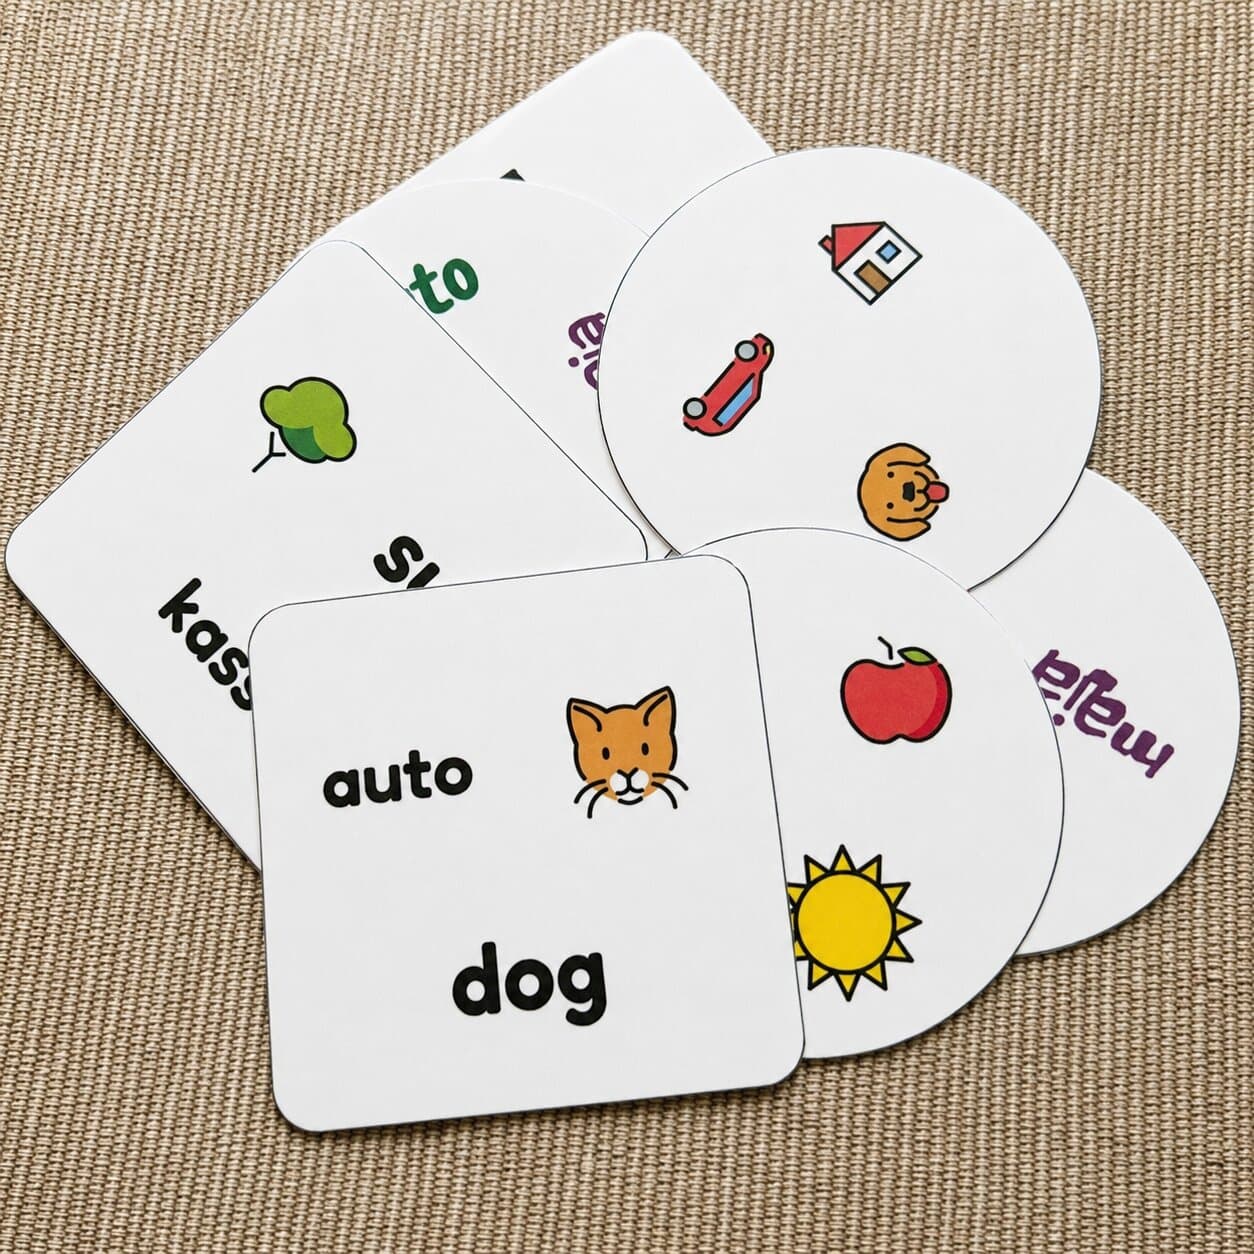
Once the cards are cut out, the deck is ready. Find the shared concept, name the picture, read the word, give the translation or ask players to explain the match they found. Play for speed or take turns at a relaxed pace — alone or in a group, wherever and however you like. The game is now yours, so use it in the way that works best for you!
Keep the PDF. If a card gets worn, stained or lost, print the relevant page again and make just one replacement card — there is no need to remake the whole deck
Practical questions
Do I have to laminate the cards?
No. Lamination is an optional extra that makes the cards stiffer and more durable. Plain paper is enough for one-off activities or short-term use
What paper should I use?
Ordinary A4 office paper works. That is what we used in our test. Heavier paper can feel sturdier, but check the thickness limits of your printer and laminator
Are laminated cards waterproof?
Not necessarily. If you laminate a full sheet and cut the cards out afterwards, the paper edge remains exposed. A separately laminated card with a sealed plastic border is better protected from moisture
What if one card wears out?
Print only the page you need again. Make a new card and replace the worn or lost one — you do not need to buy or remake the whole deck
Keep the first set as simple as possible
You do not need specialist equipment for your first deck. A colour printer, A4 paper and scissors are enough. You can add lamination, heavier paper and dedicated cutting tools later if you start making more sets
Create your cards